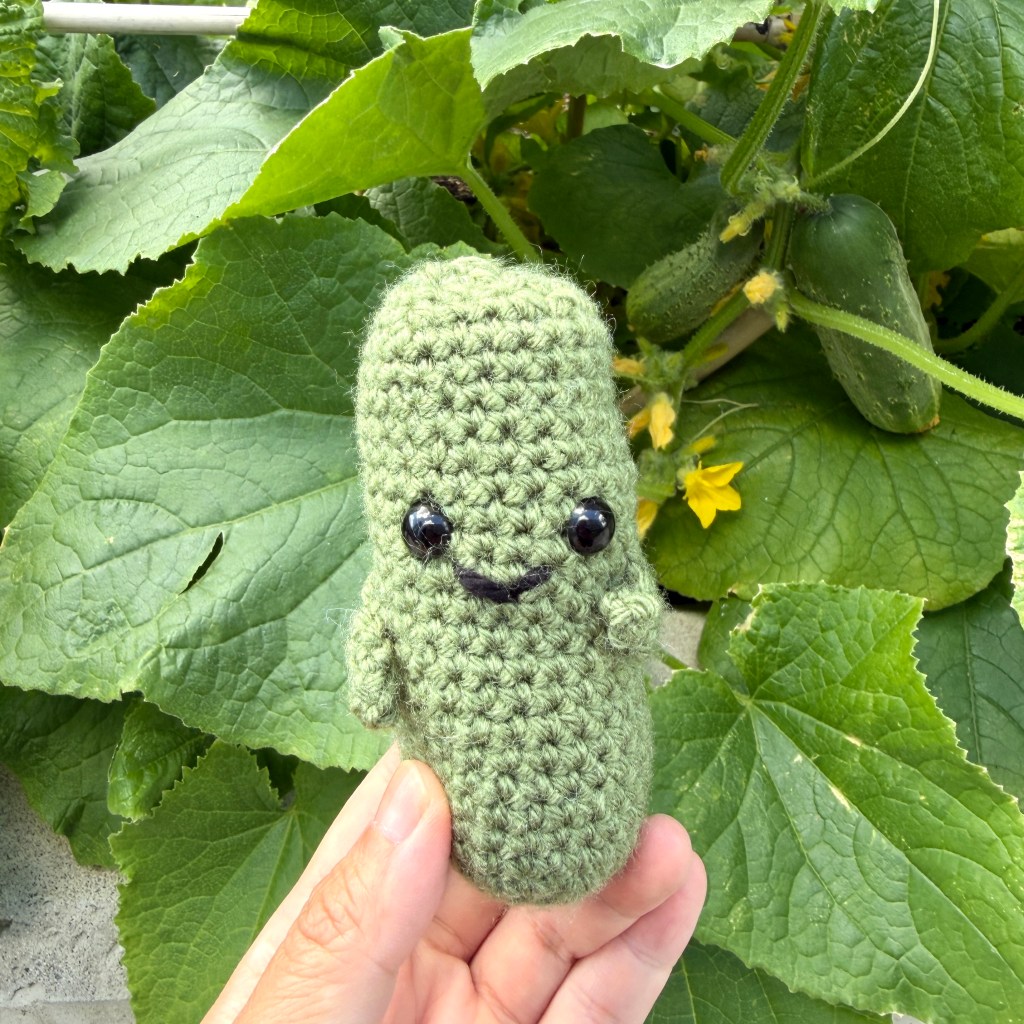
An ad-free, printer-friendly version of this crochet pattern is available in the Etsy shop for a small fee.
Sure, pickles make a tasty snack, but they’re also a fun gift for just about any occasion: birthdays, holidays, return-to-office orders, job loss — you name it. In this terribly dismal economic climate, I’ve been cranking out far more emotional support pickles than I had planned to because whattheheckisgoingon. Follow this beginner-friendly amigurumi pattern to make the quirkiest food friend that will help brighten up even the saddest of sad days.
Materials
- Green medium weight yarn (pattern is using Bernat Super Value in Forest Green)
- Black medium weight yarn for mouth
- 4 mm crochet hook
- Safety eyes (9 or 10 mm)
- Stitch marker
- Yarn needle
- Stuffing
- Scissors
Skill level
Easy
Measurements
About 4″ (10 cm) long, 2″ (5 cm) wide and 1.5″ (4 cm) thick.
Terms (US Terminology)
Ch — chain
St — stitch
Sc — single crochet
Inc — increase (crochet 2 in one st)
Dec — decrease (single crochet two together)
* — repeat instructions between asterisks until the end of the round
Notes
- You will be crocheting a body and 2 arms
- When working in the round, place a stitch marker on the 1st stitch of each round to keep track of the rounds
- You can make the pickle longer by adding more rounds after round 23. Be sure to position the eyes higher up if you do.
- Feel free to post photos of your work, sell your finished creations, and tag me @nextstitch
Instructions
Body
Using green yarn and a 4 mm crochet hook.
Round 1: Single crochet 6 in a magic ring (6 st)
Round 2: Inc in each st around (12 st)
Round 3: *Sc, inc* around (18 st)
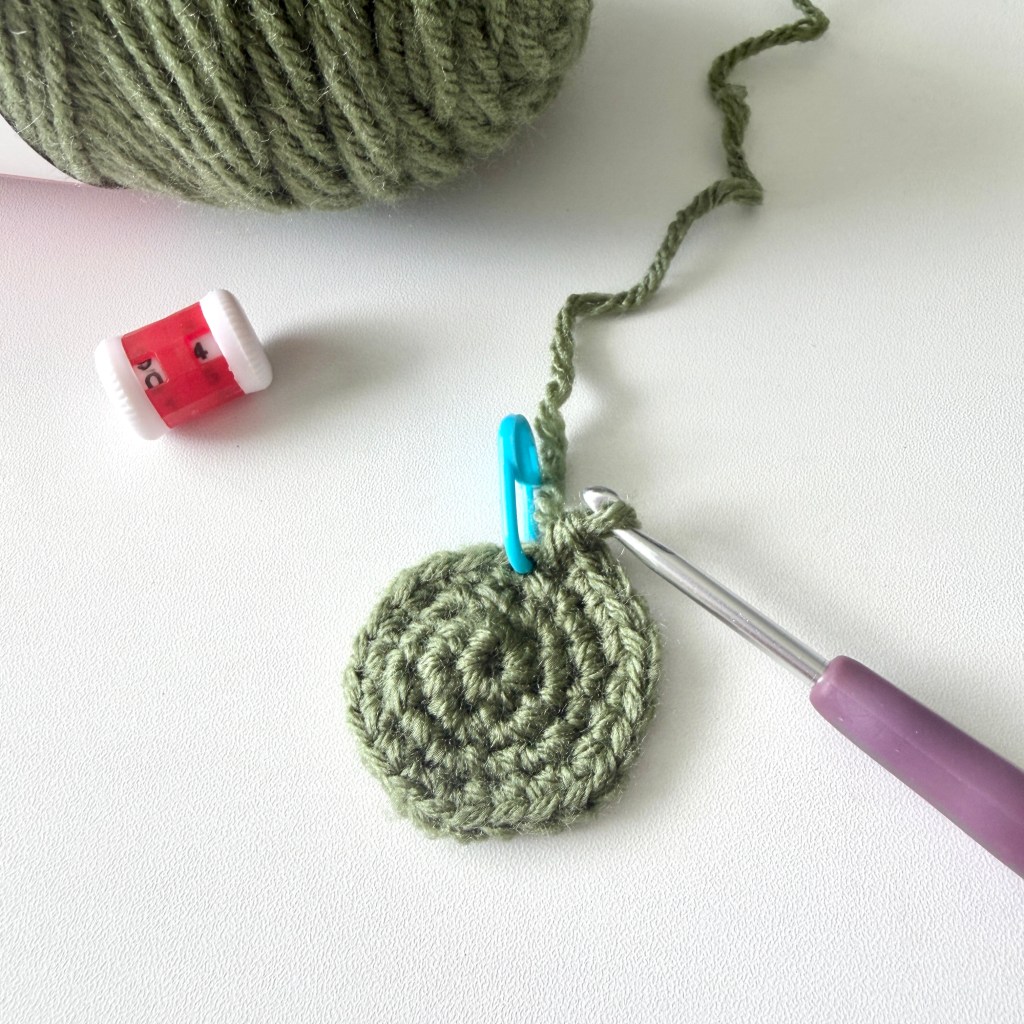
Round 4: *Sc 2, inc* around (24 st) — see Figure 1
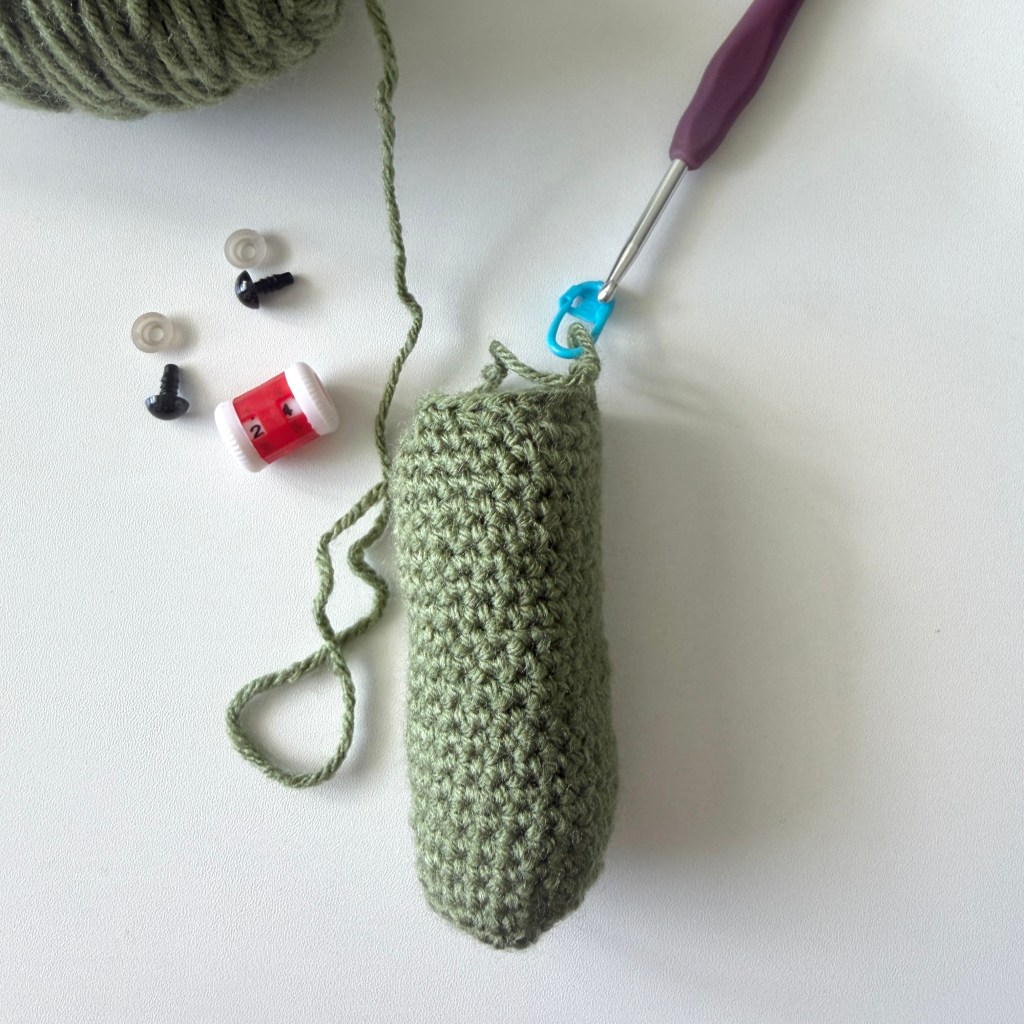
Round 5–23: Sc in each stitch around (24 st) — see Figure 2
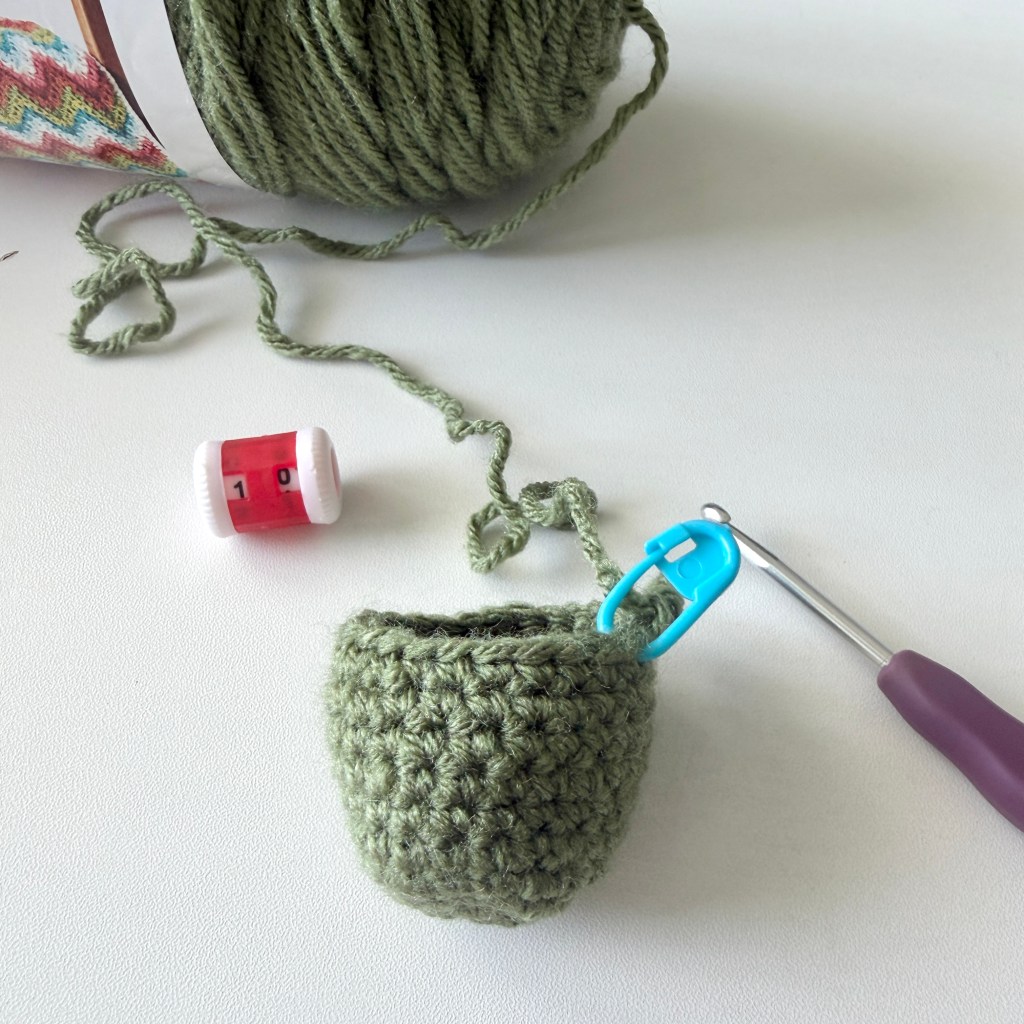
Round 24: *Sc 2, dec* around (18 st) — see Figure 3
Securely attach the safety eyes between row 16 and 17, about 5 stitches apart.
With a bit of black yarn, sew a mouth — see Figure 4.
Stuff the body.
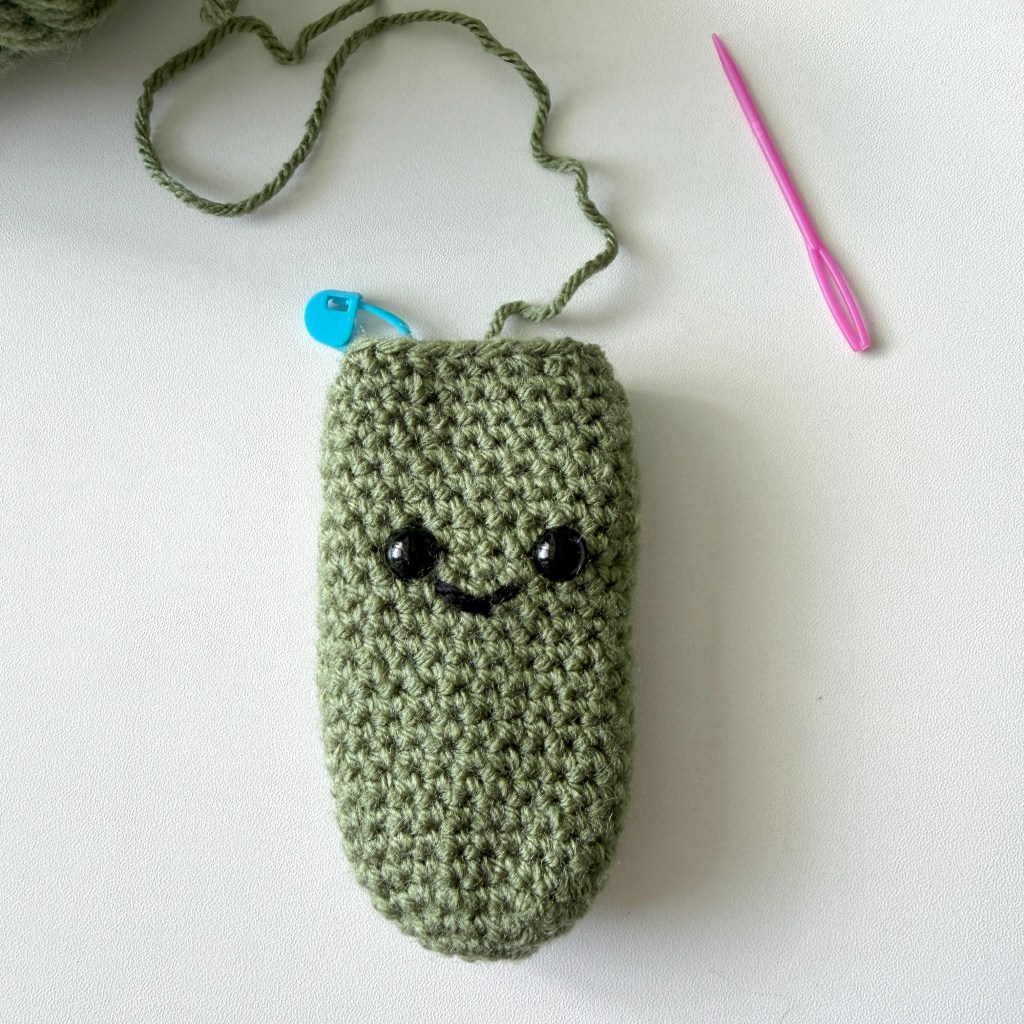
Round 25: *Sc, dec* around (12 st)
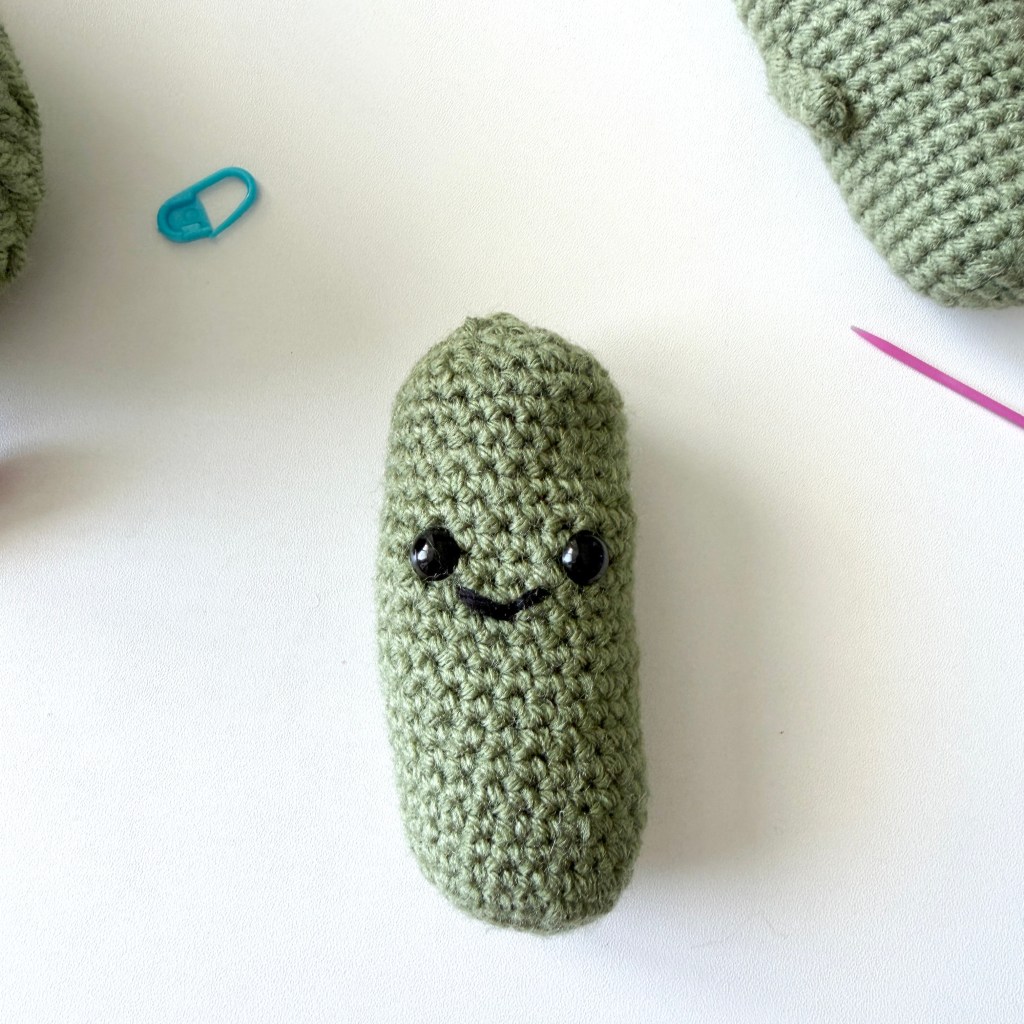
Round 26: Dec around (6 st)
Fasten off and sew the yarn tail into the body — see Figure 5.
Arms (make 2)
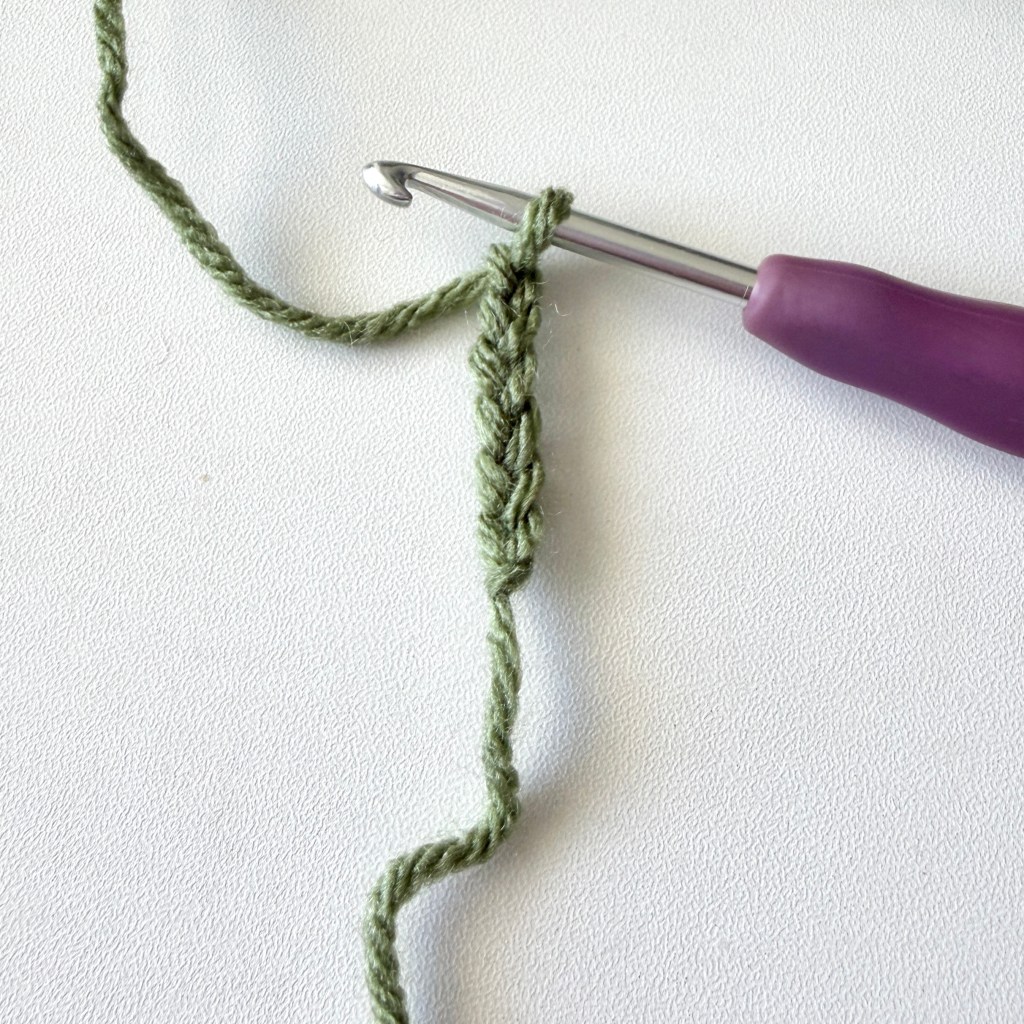
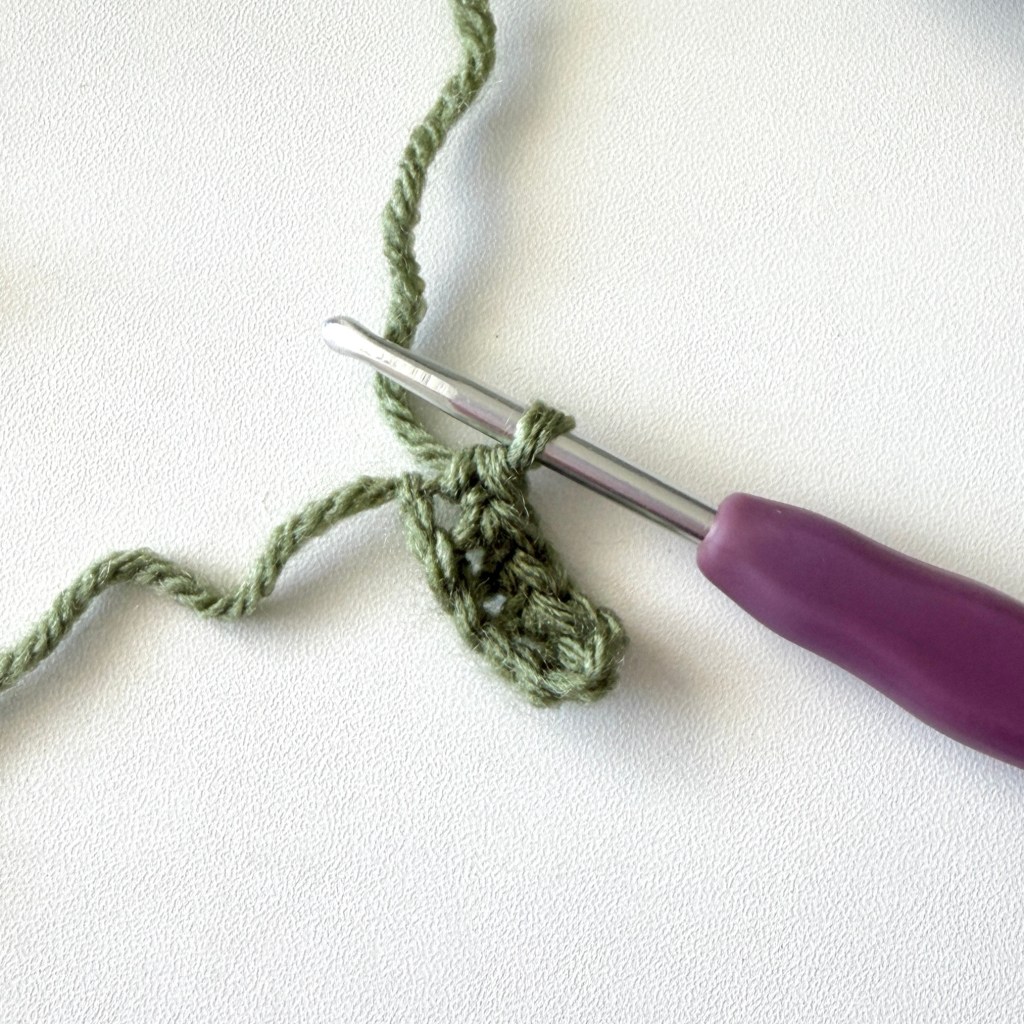
Row 1: Ch 6. Starting from the 2nd ch from the hook, sc in each st across (5 st) — see Figures 6 & 7.
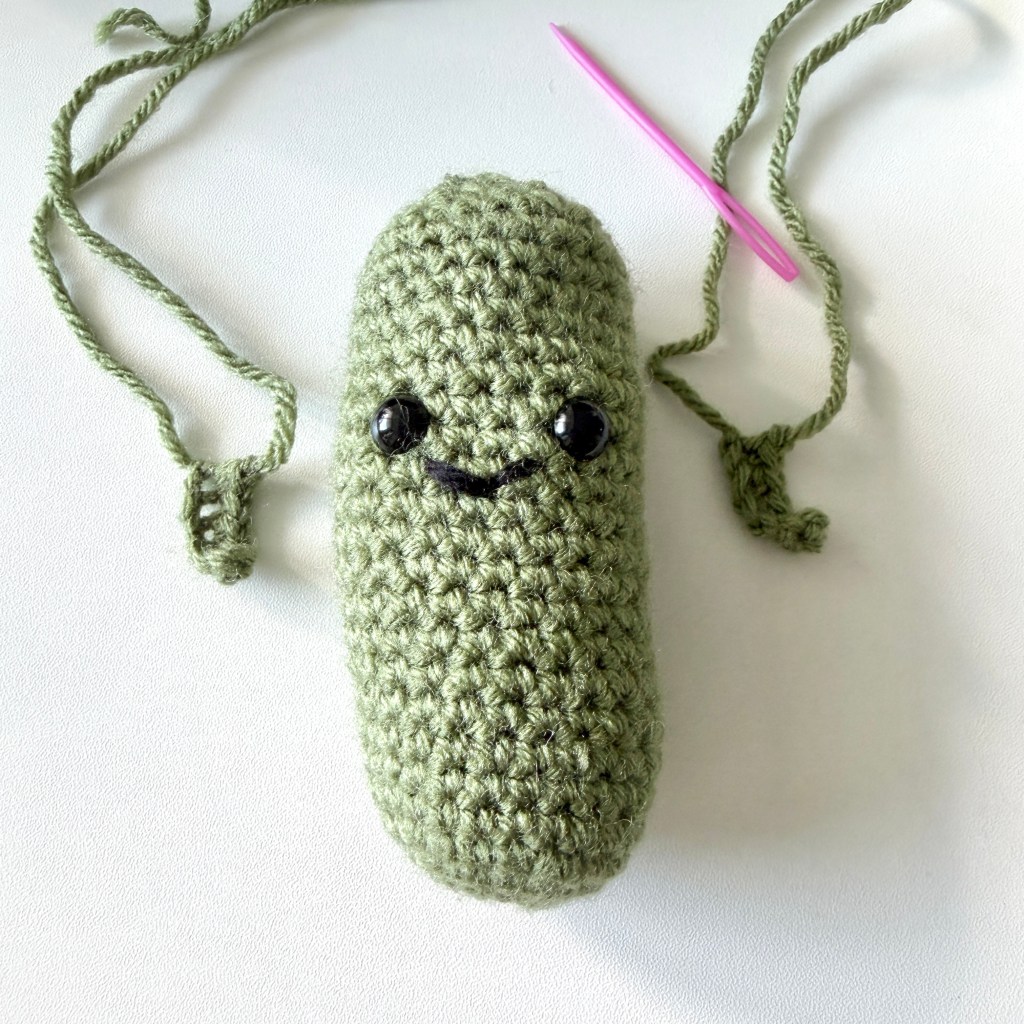
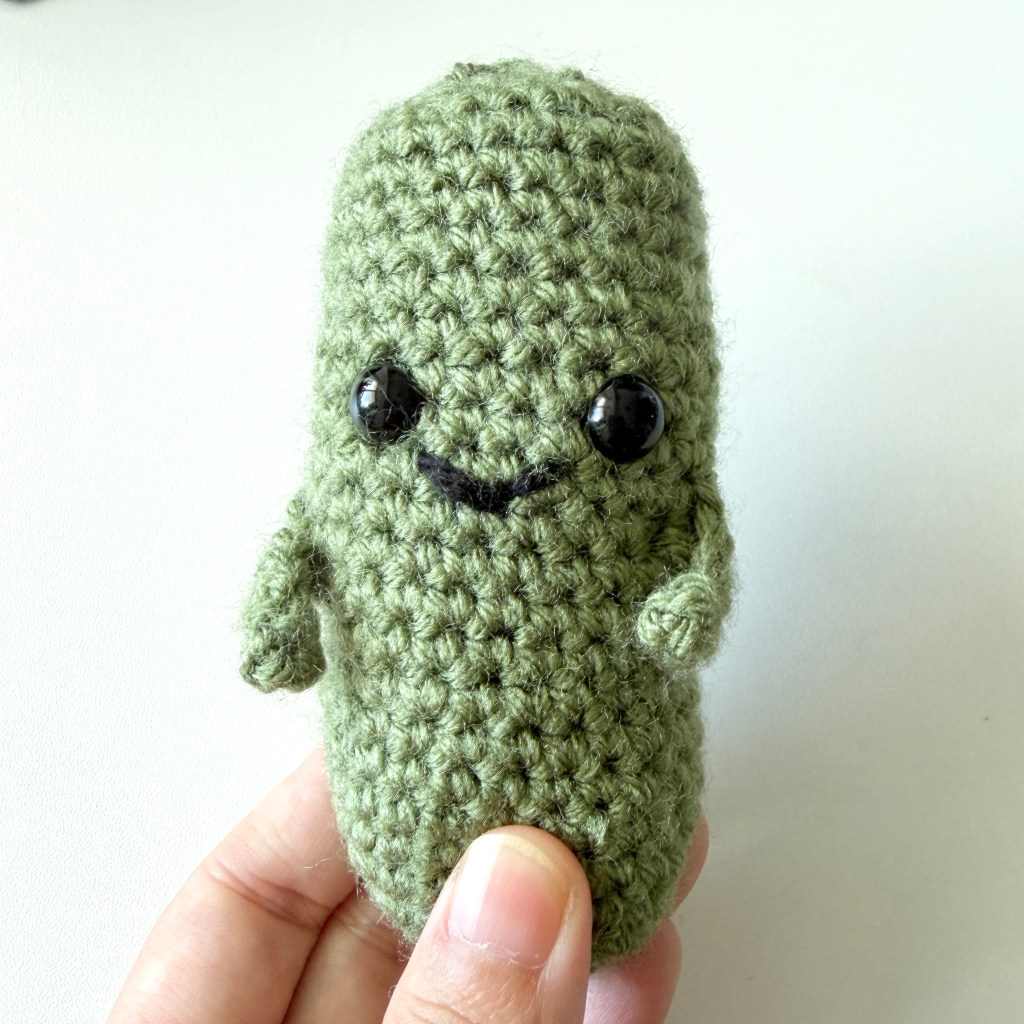
Fasten off and leave a long tail. Sew both arms onto the sides of the body. Trim off any excess yarn — see Figures 8 & 9.
And you’re done!